Our customized van build with removable components.
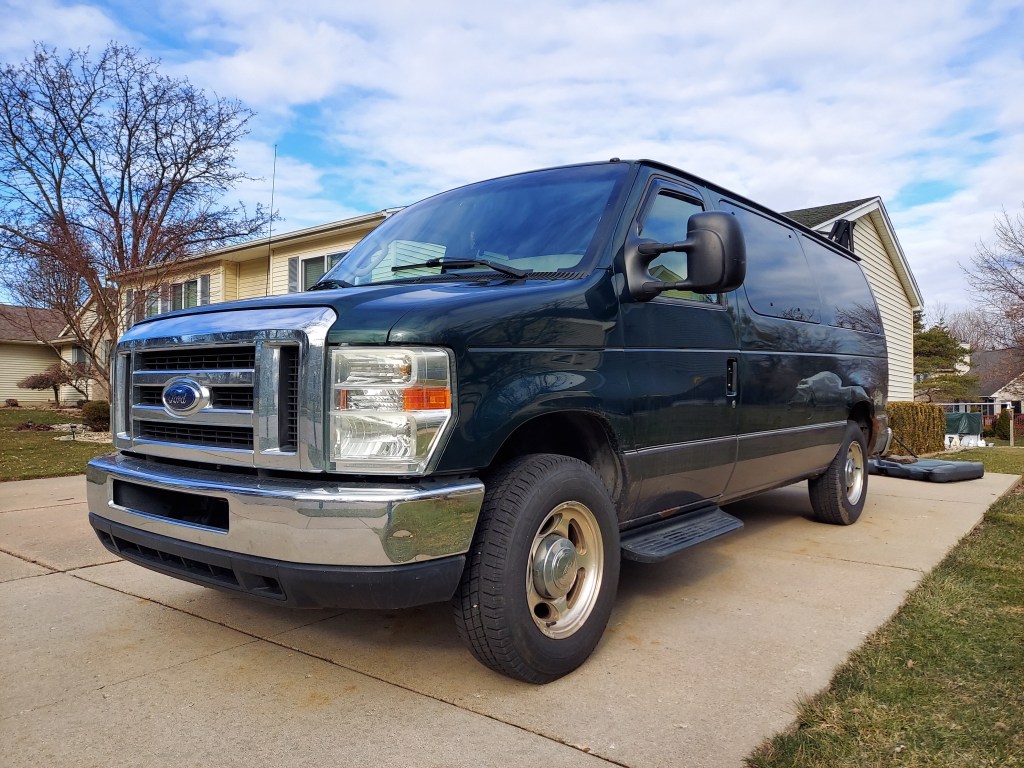
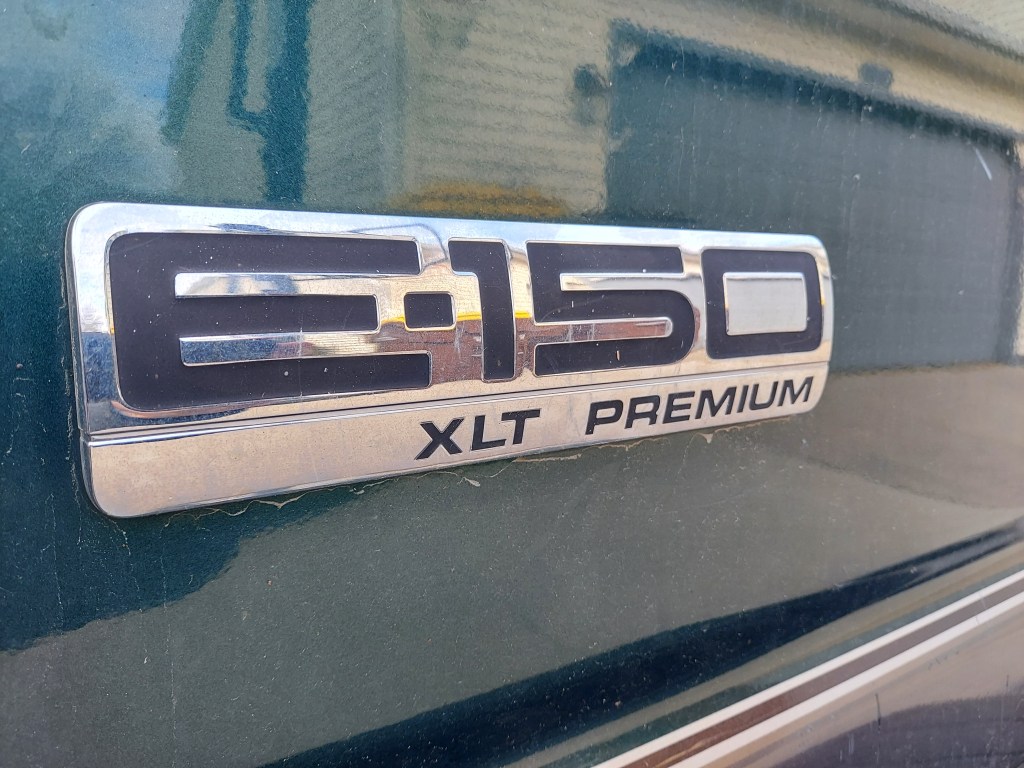
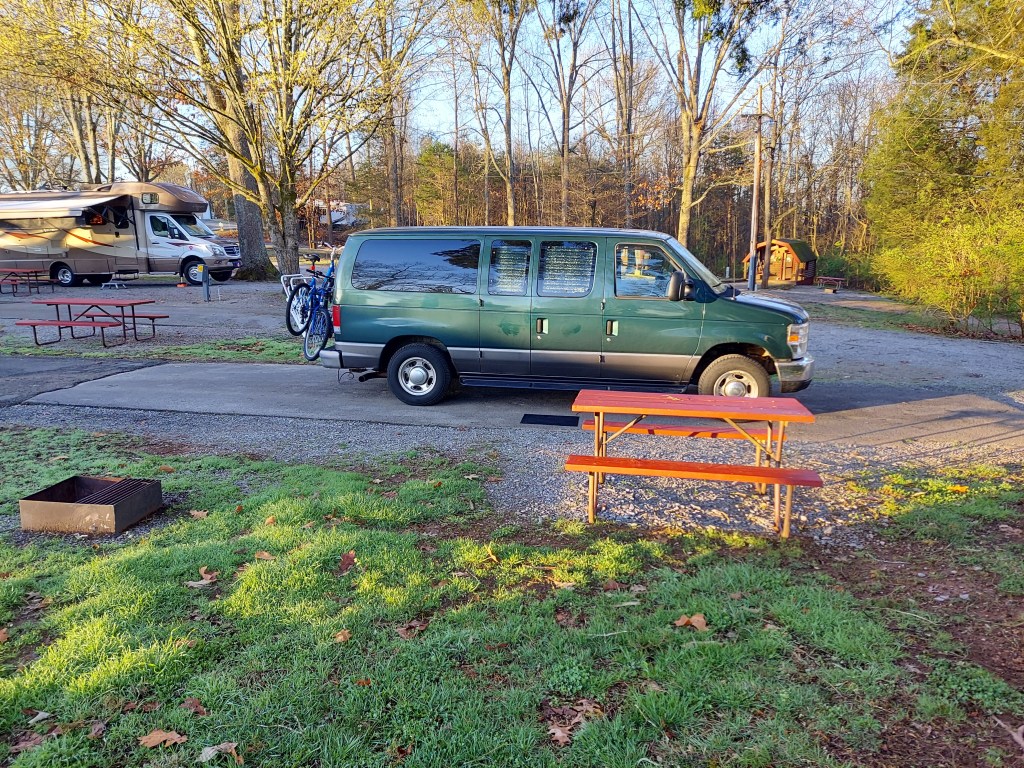
We have owned this 2008 Ford E-150 XLT van since 2011. We purchased this van to transport our four kids and all of our stuff during our daily life. The van also worked well for baggage for vacations. Lots of baggage.
Kids have moved on and we decided to experiment with some ideas for transforming the van into a mini camper space.
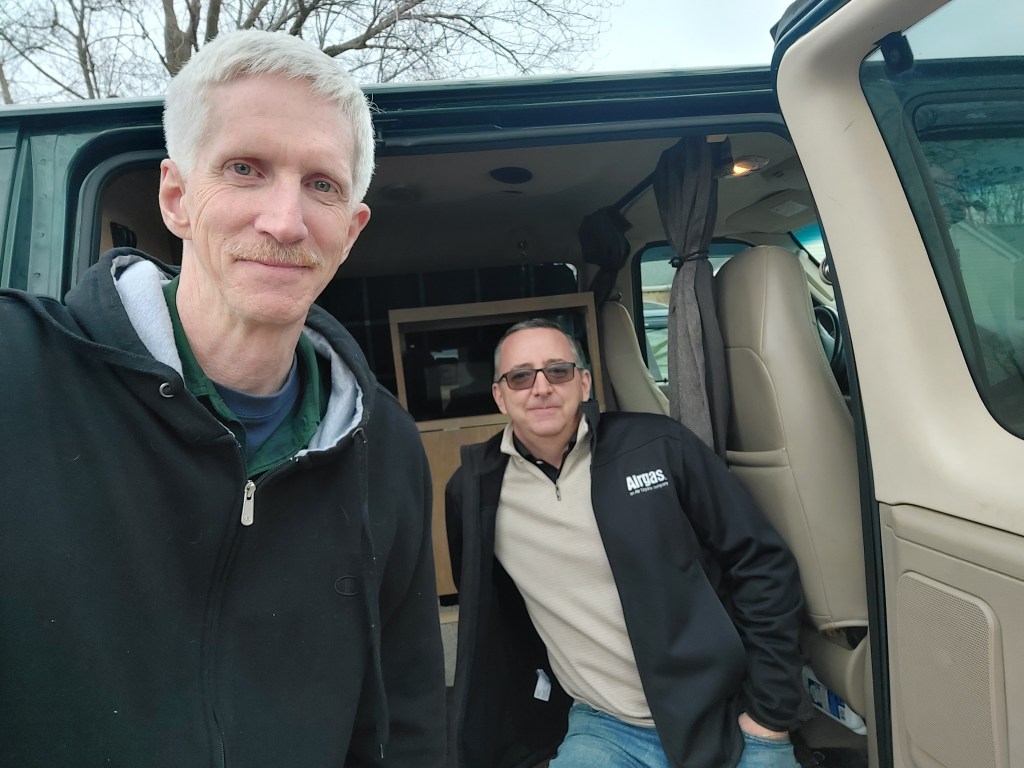
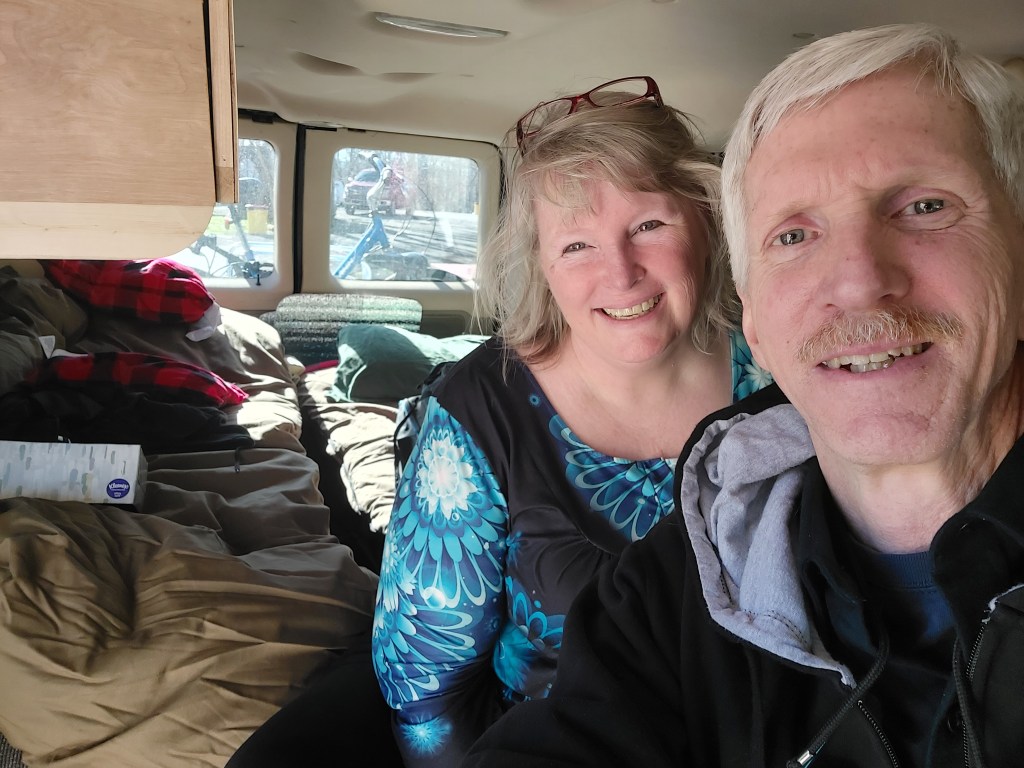
Here is my story of my first camper van build. This was a ton of fun as I love to try out new ideas and try new builds. I received a lot of encouragement along the way from my wife Bridget and my good friend Tom. I call this build a prototype because I wanted to experiment with unique design ideas using reclaimed wood and less expensive materials. I also designed the pieces as modular components which can be removed fairly easy yet are securely fastened to the van. This made the build a little extra challenging but also allowed me to think creatively and experiment with a variety of ideas. This is still a work in progress and I have learned a lot along the way. I am happy with this first version and wanted to share my build adventure with you.
I should mention that this build was designed to be used for brief excursions. This version does not contain any running water, toilet or shower. Just the basics needed for a few days at a park with facilities. This design allows us to pull our boat and camp. The next phase of this project includes an outdoor kitchen canopy.
The Build
This build was designed and completed in 2.5 months. I started at the end of December 2022 and then worked on the project about 15 – 20 hours a week in January and February 2023. If you have any questions my contact info is located at the bottom of this page.
Window Coverings
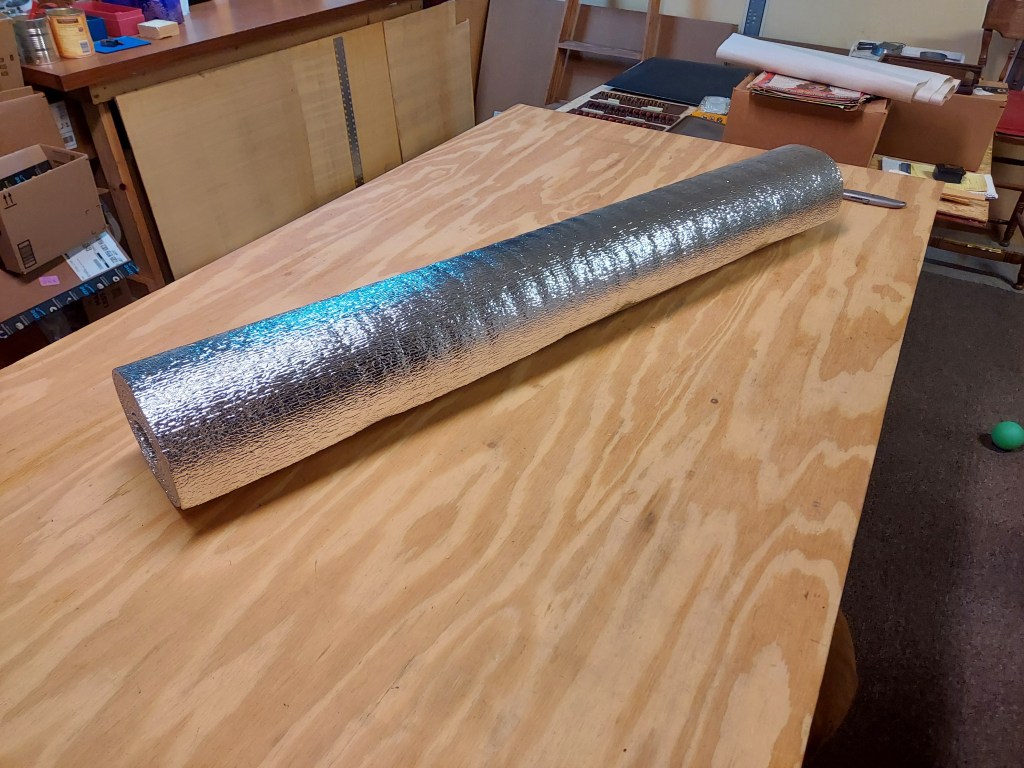
There are many windows in this van and I really have enjoyed the views and the solar warmth on a chilly winter day. I wanted to maintain the option of making use of the windows in the future so I researched window coverings. Lots of advice out there on strategies to insulate and add privacy covers. I decided to go with reflective insulation that comes in a roll.
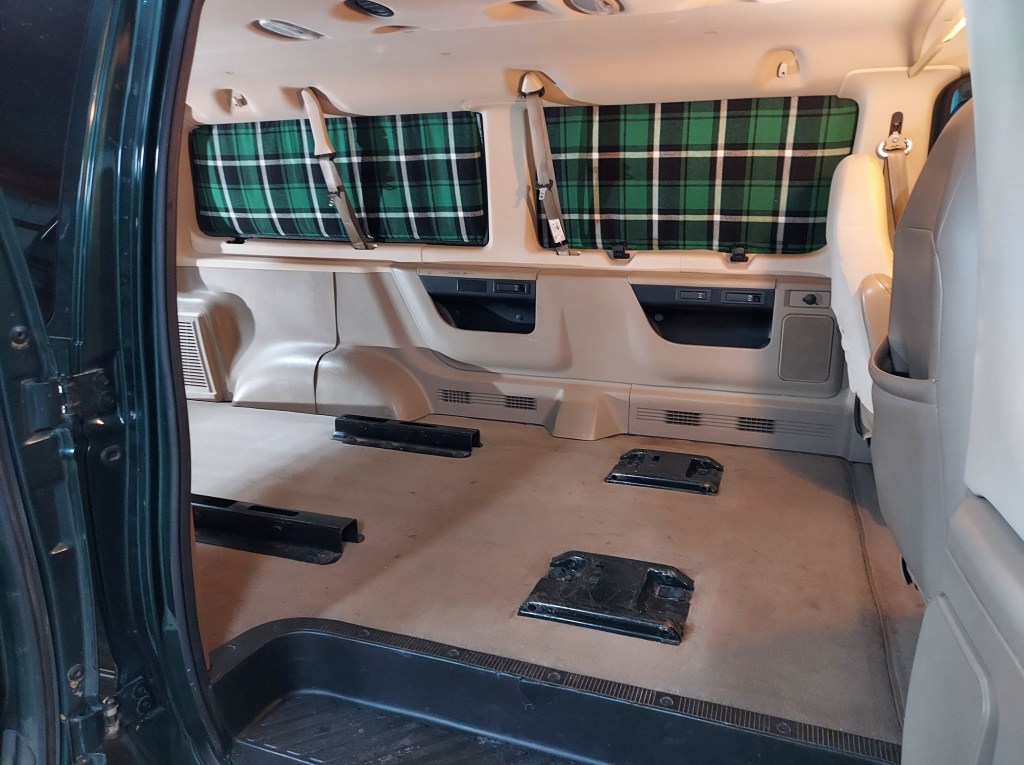
I added plaid fabric to the inside surface and devised a system to add black fabric attached with velcro to the outside surface of the insulation. This now gives me the option to attach the black fabric to absorb the sun during the winter months. During the summer months I can remove the black and use the reflective surface of the insulation to reflect the sun’s rays and keep the van cooler.
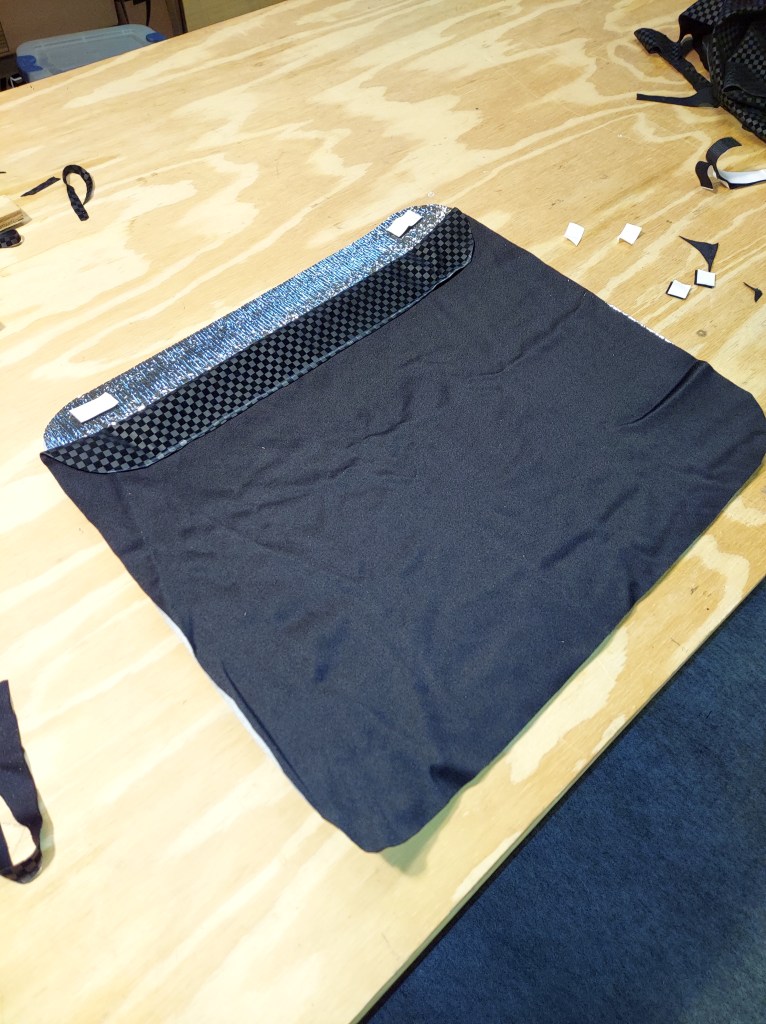

I continue to experiment with a practical and functional system to keep the window coverings in place.
Laying out the Floor Plan
I spent some time experimenting with the floor plan by physically laying out the base for each modular component of the interior. I used primarily reclaimed wood that I had collected and also supplied from a good friend for most of the build.
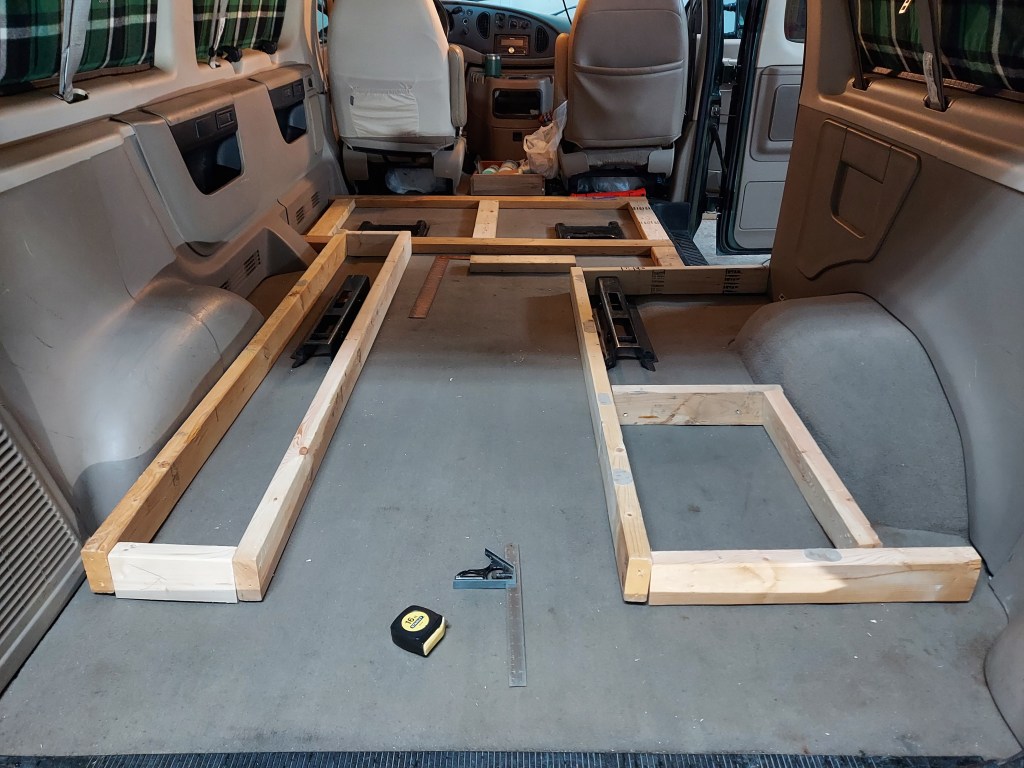
I planned to keep most of the original seat mounts in place to anchor the new pieces of furniture. I also wanted the seat mounts in place in case I wanted to reinstall the seats in the future.
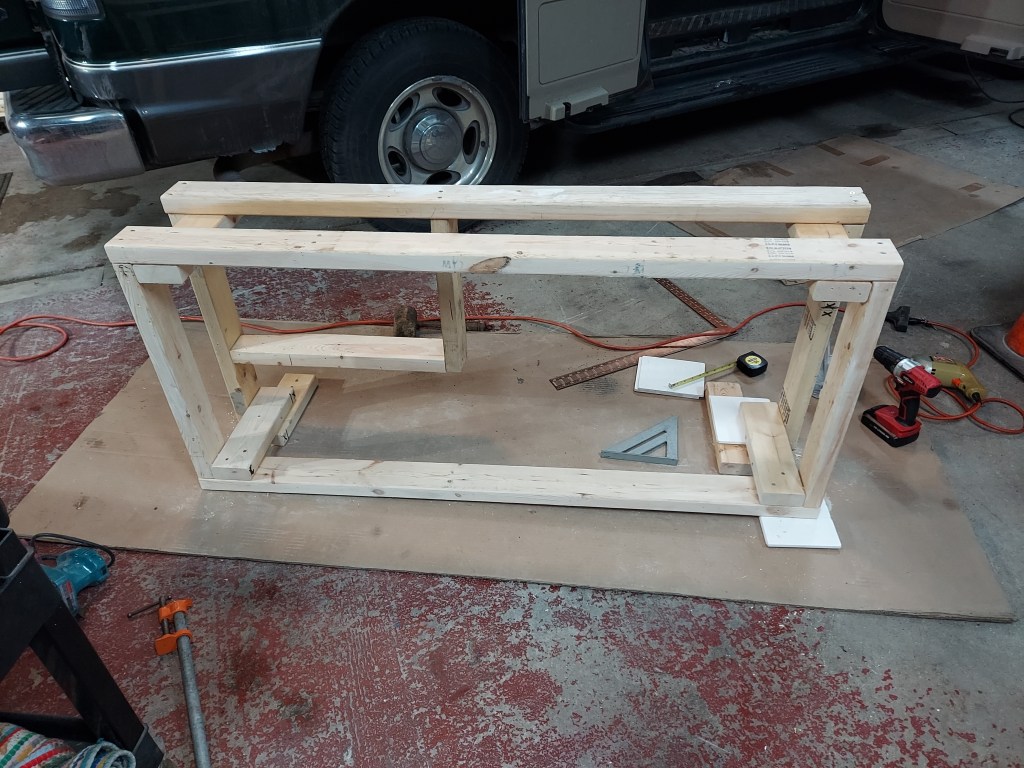
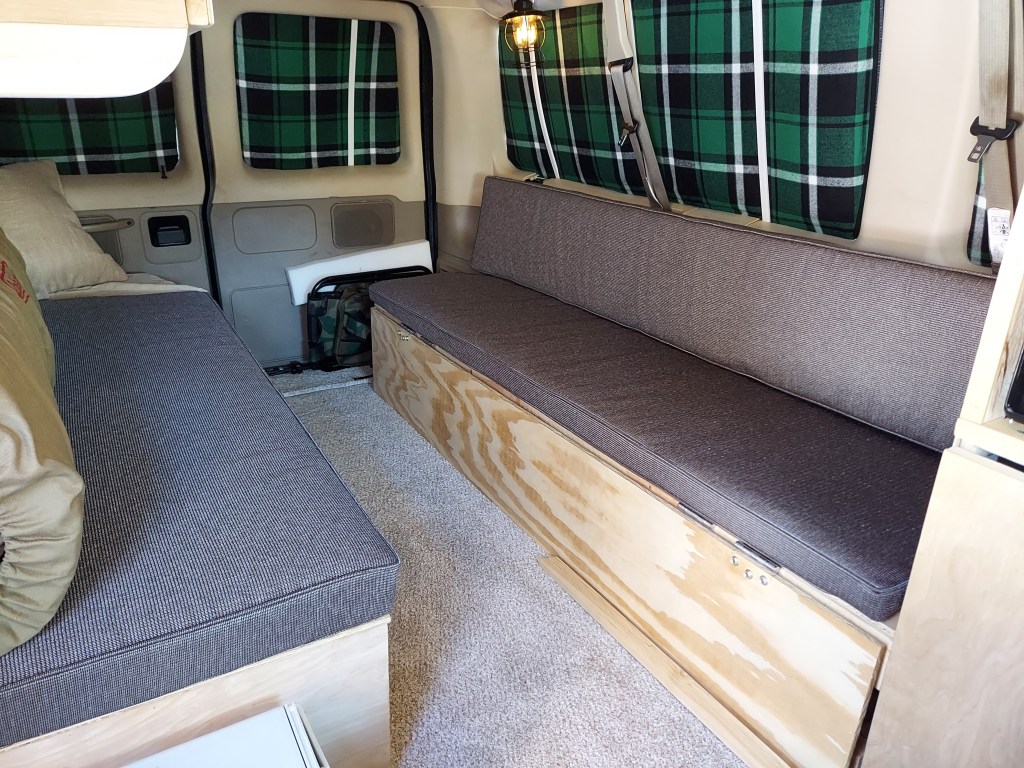
Building the First Bed
I created the first bed to act as a bench during the day. The bed is a little longer to fit my size (6’5″) with an extension that folds up to give more width.

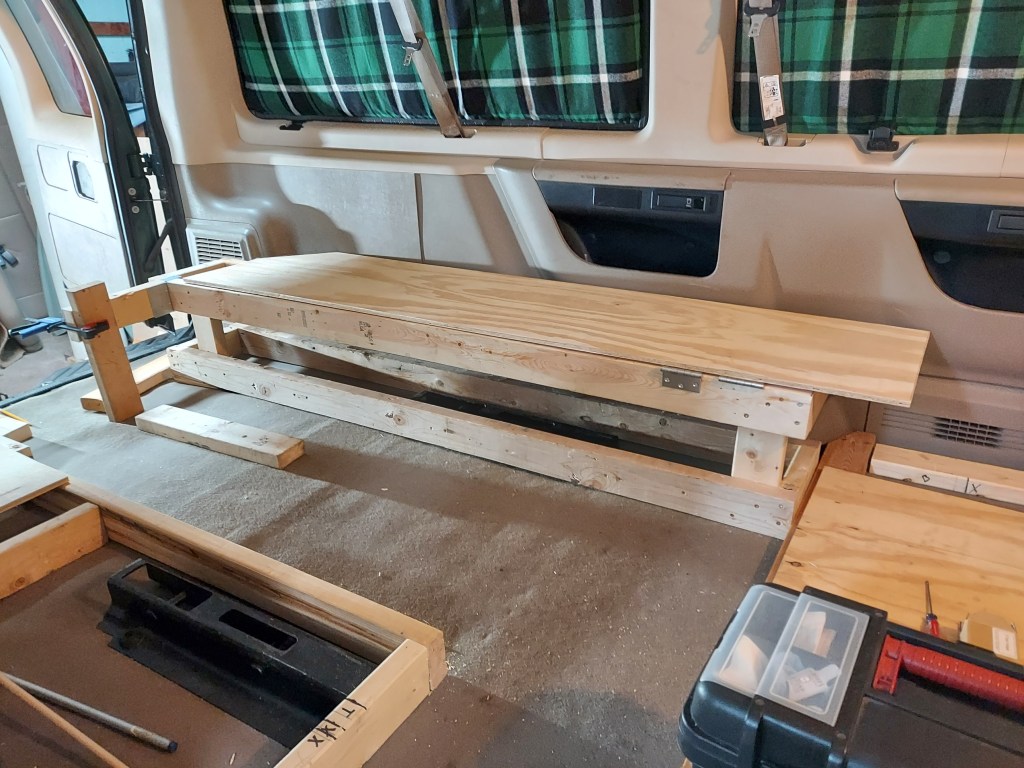
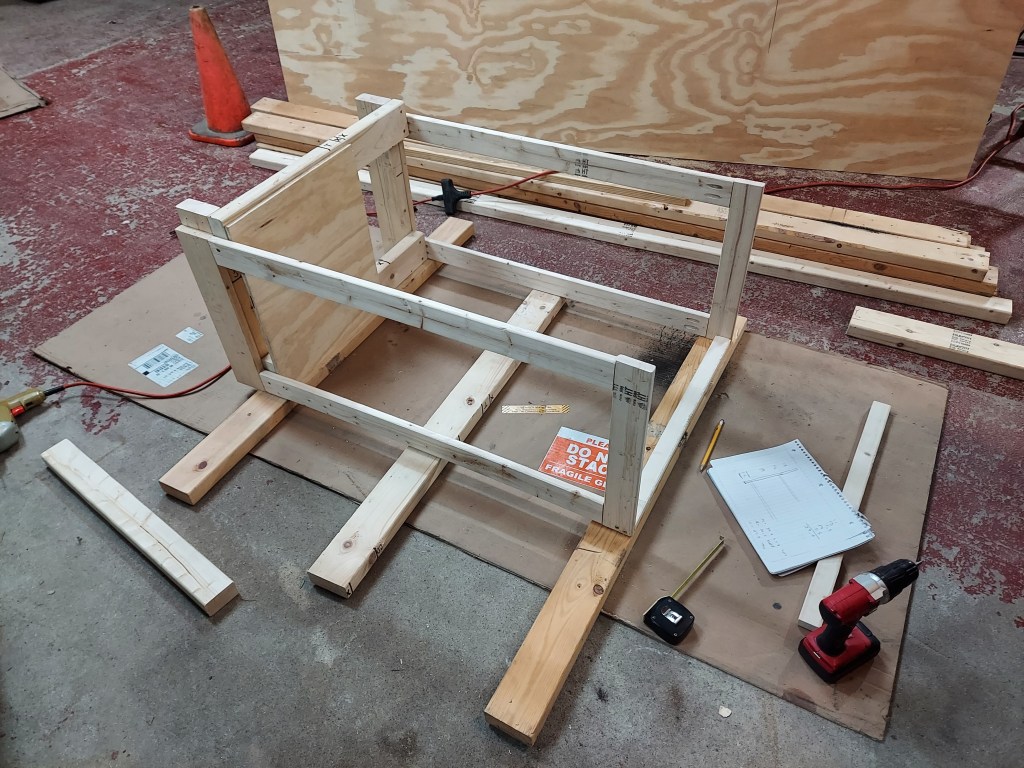
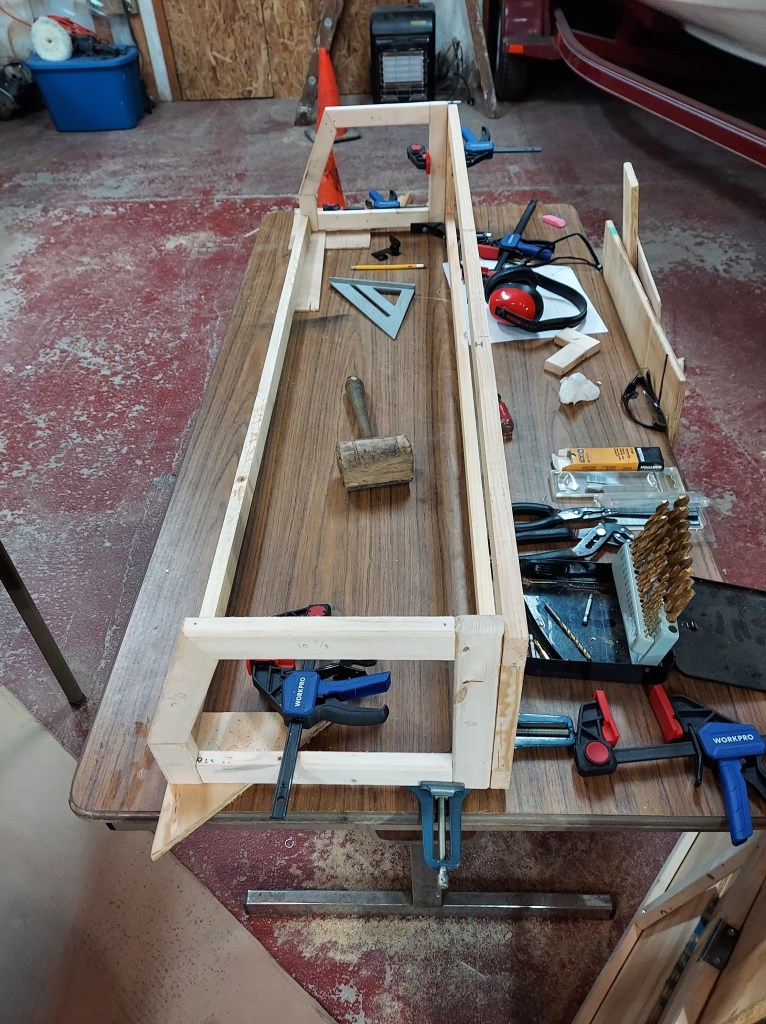
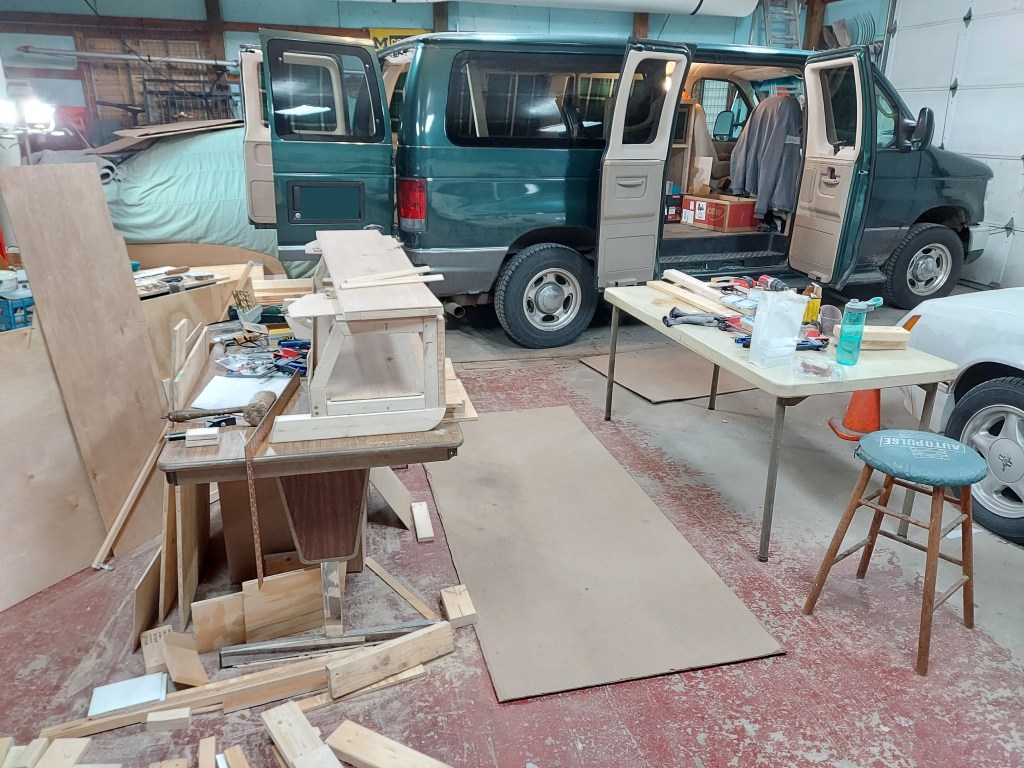
Here is a shot of the initial work space with the build underway.
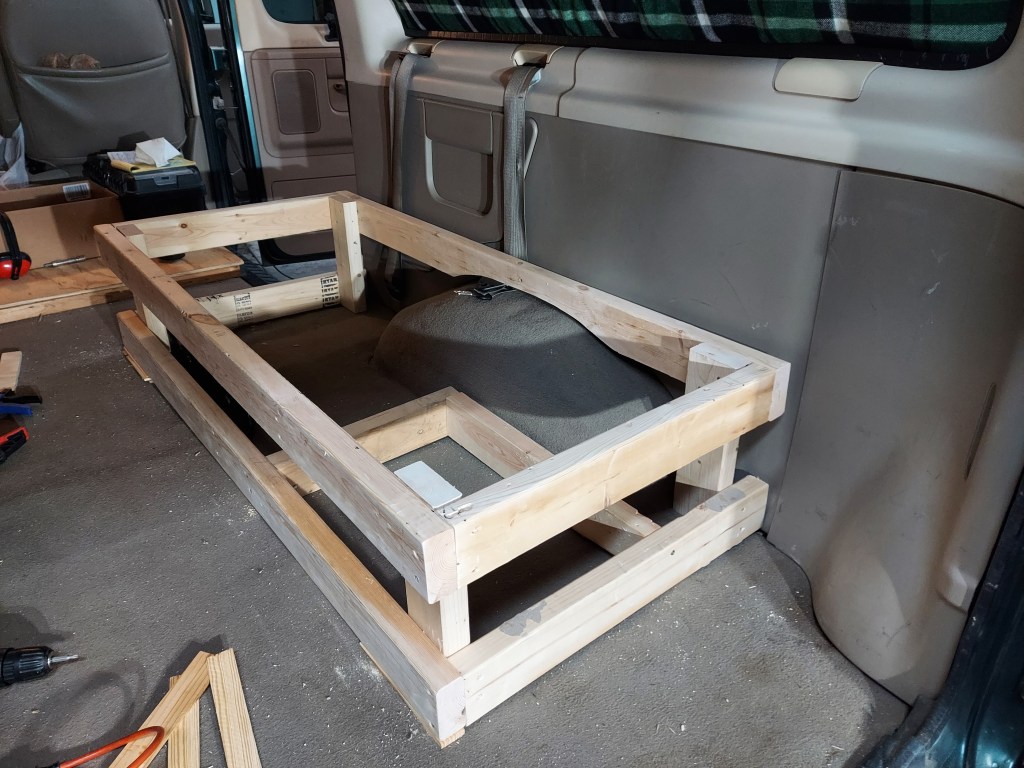
Building the Second Bed / Storage Box
After drawing some rough plans I started work on the second bed which also contains a storage space under the bed.
The base was designed to fit around the rear wheel well and also anchored down to the seat mount.
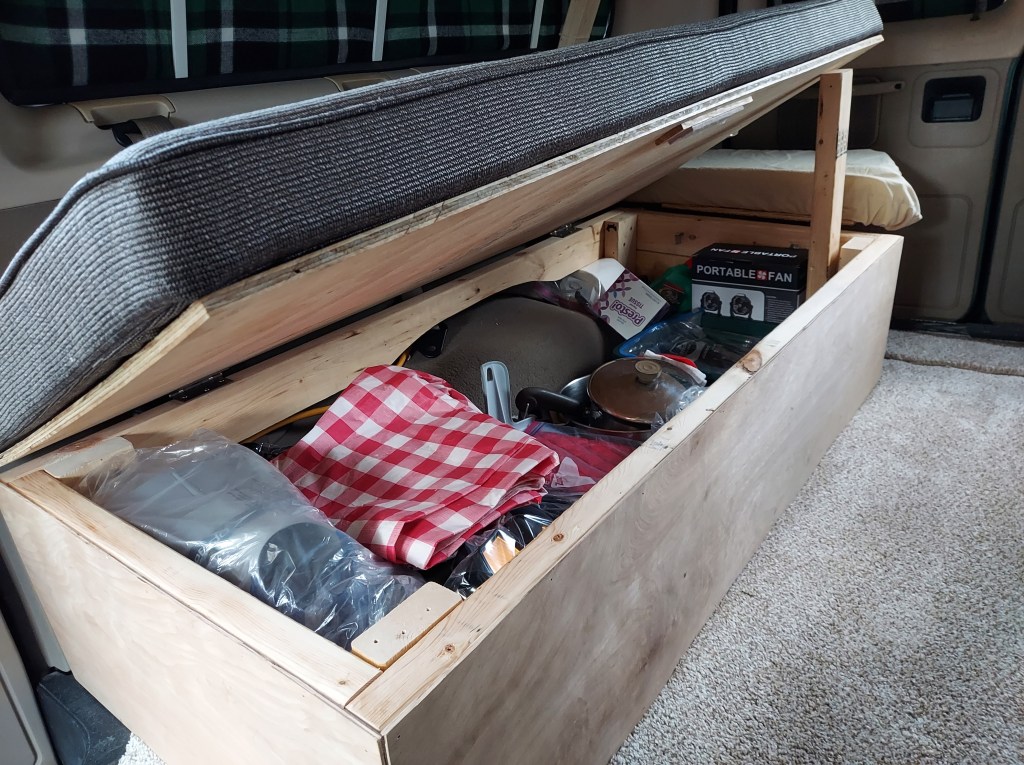
Here is the completed bed with storage for a variety of items.
Microwave and Cooler Cabinet
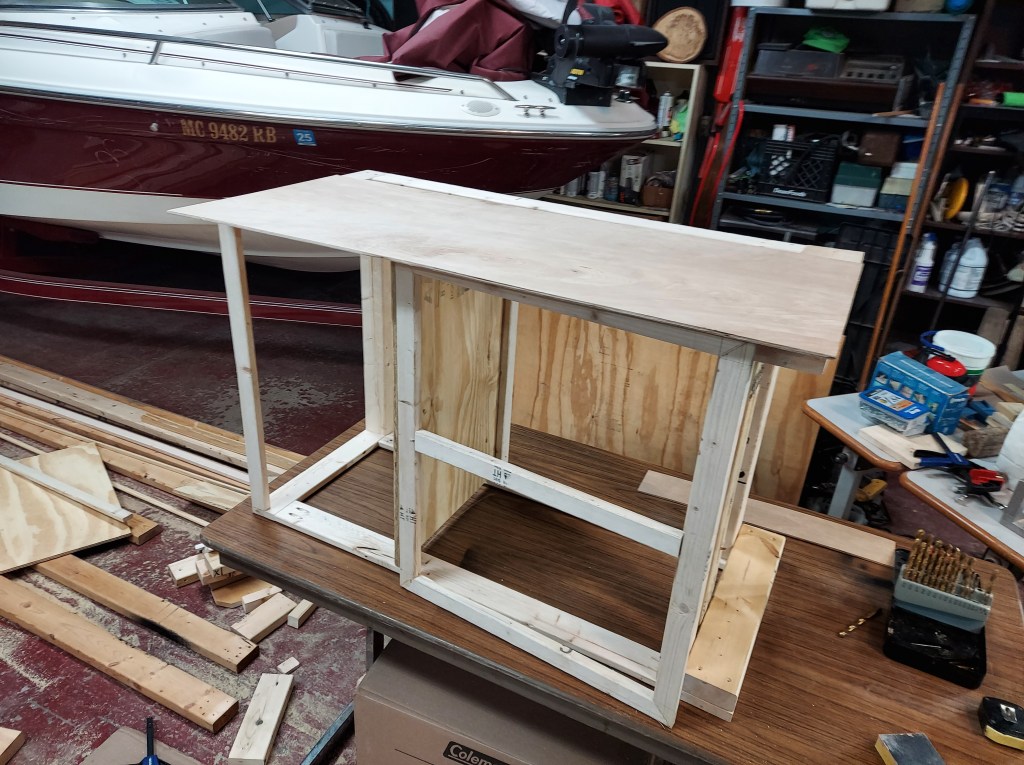
After a little more rough design work on paper I started building the cabinet that holds the microwave and cooler.
I wanted this cabinet to be light weight yet sturdy, so I used 1×3 and 2×3 instead of 2×4 for this unit.

I used 3/16th floor underlayment for the sides on this cabinet. The paneling is light weight but reinforces the cabinet well. The veneer is a nicely finished hardwood.
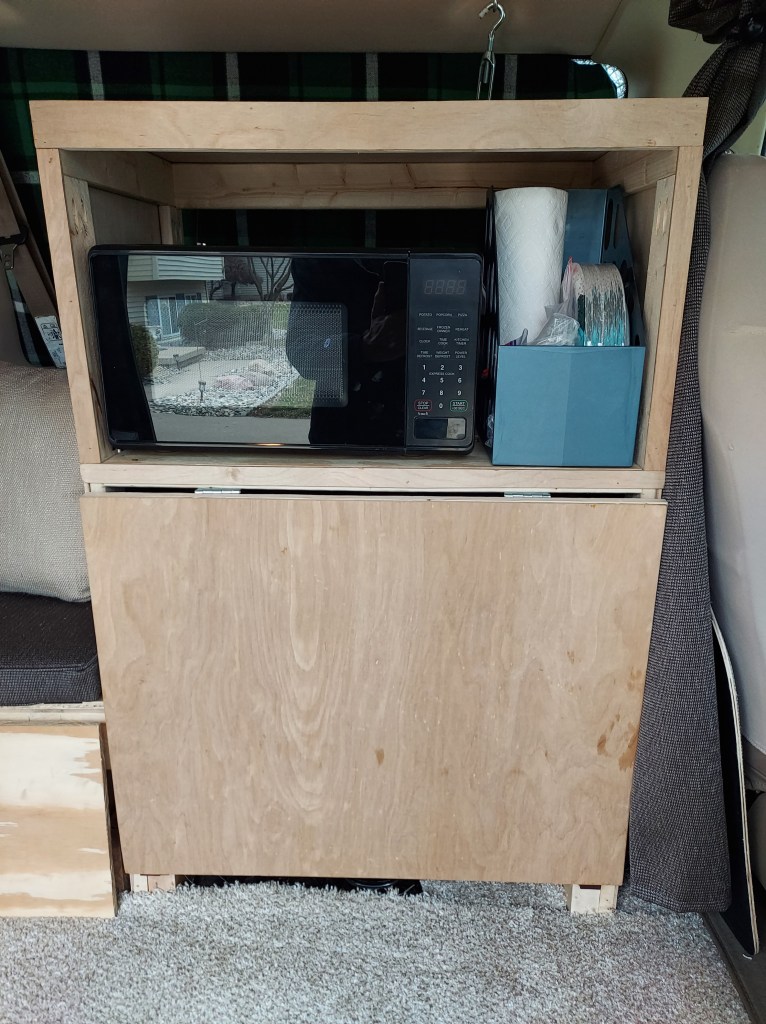
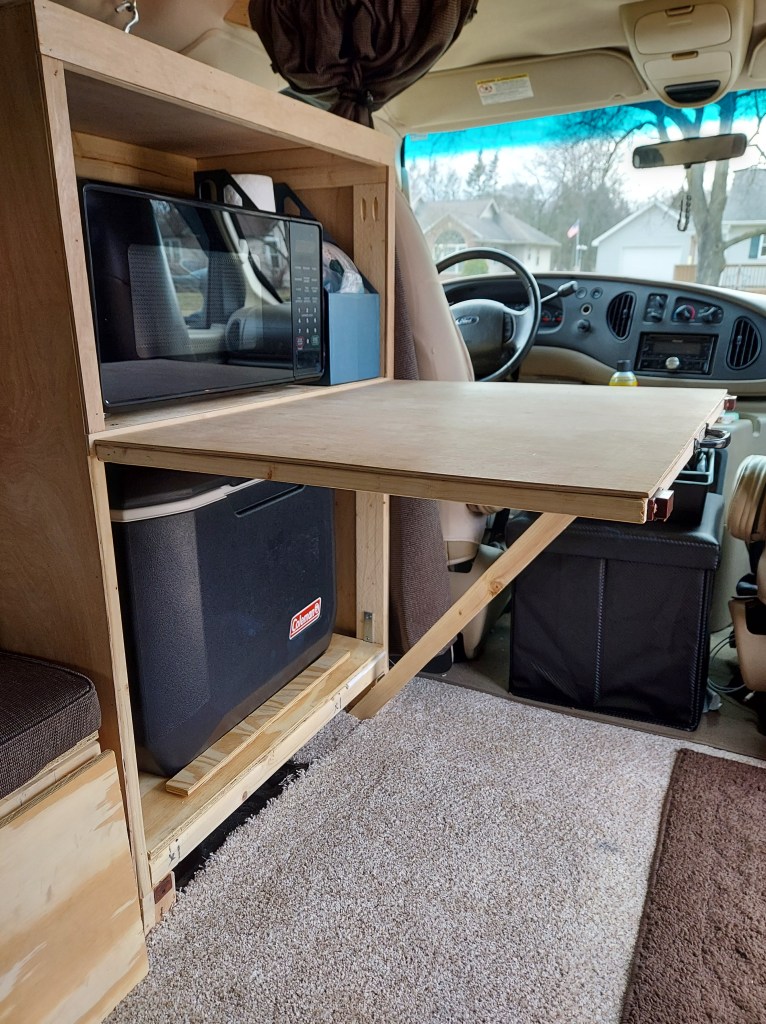
The completed cabinet with a 5 Day Ice cooler on wheels. The front of the cooler cabinet folds up for a handy table.
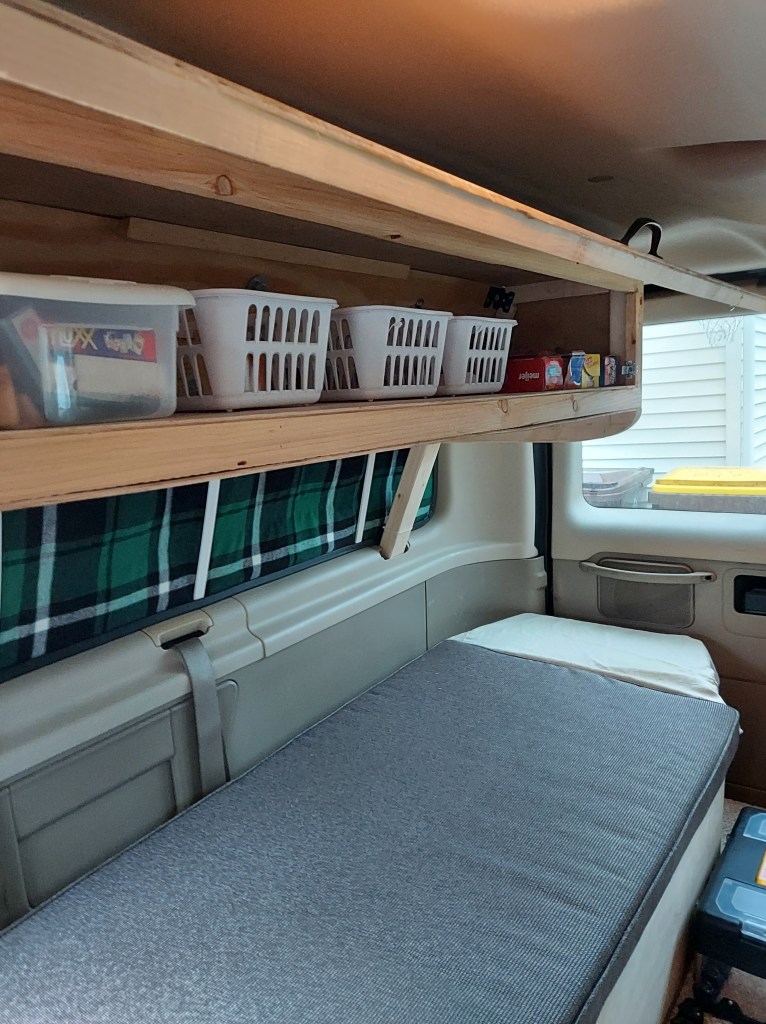
Overhead Food Storage Cabinet
People tell me I eat a lot. Frequently. And I burn it off fairly quickly because I am so active. So food storage is a priority for this build. I wanted a unique cabinet that would be just large enough for the basics: bread, peanut butter, some canned goods, cookies, chips….so I designed the cabinet as such.
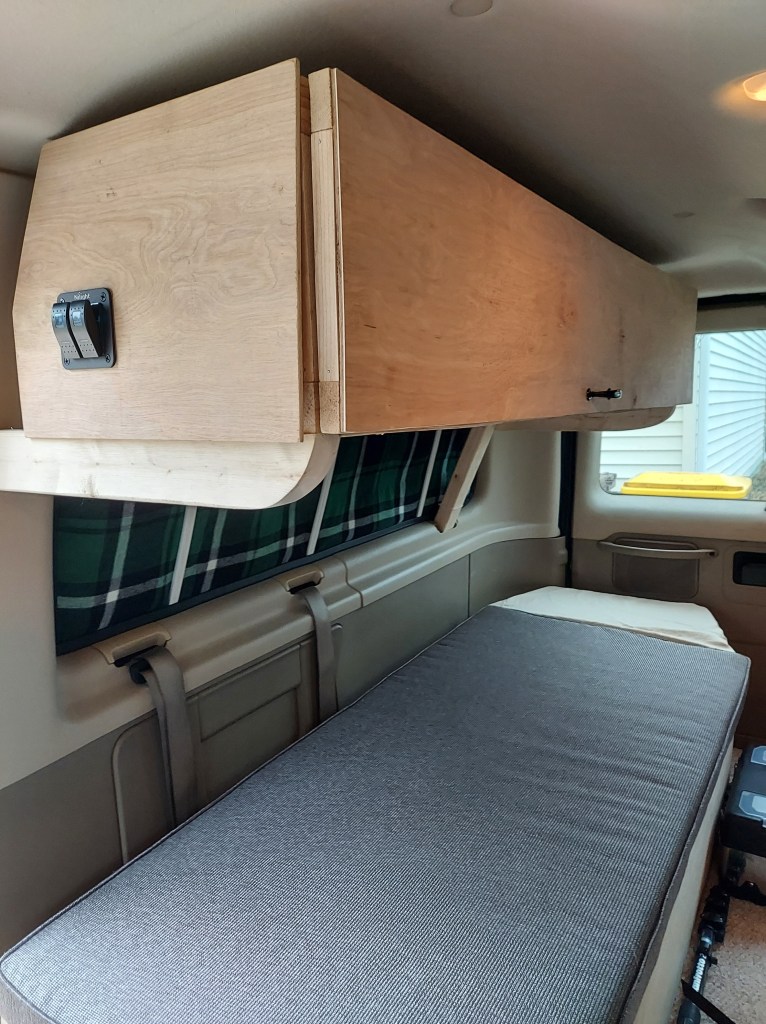
The cabinet is designed to hang over bed # 2. The back of the cabinet needed to curve to fit the contour of the ceiling, sloping to the side and with a slight angle to the back of the van. A little tricky but after a few design changes I came up with a workable prototype.
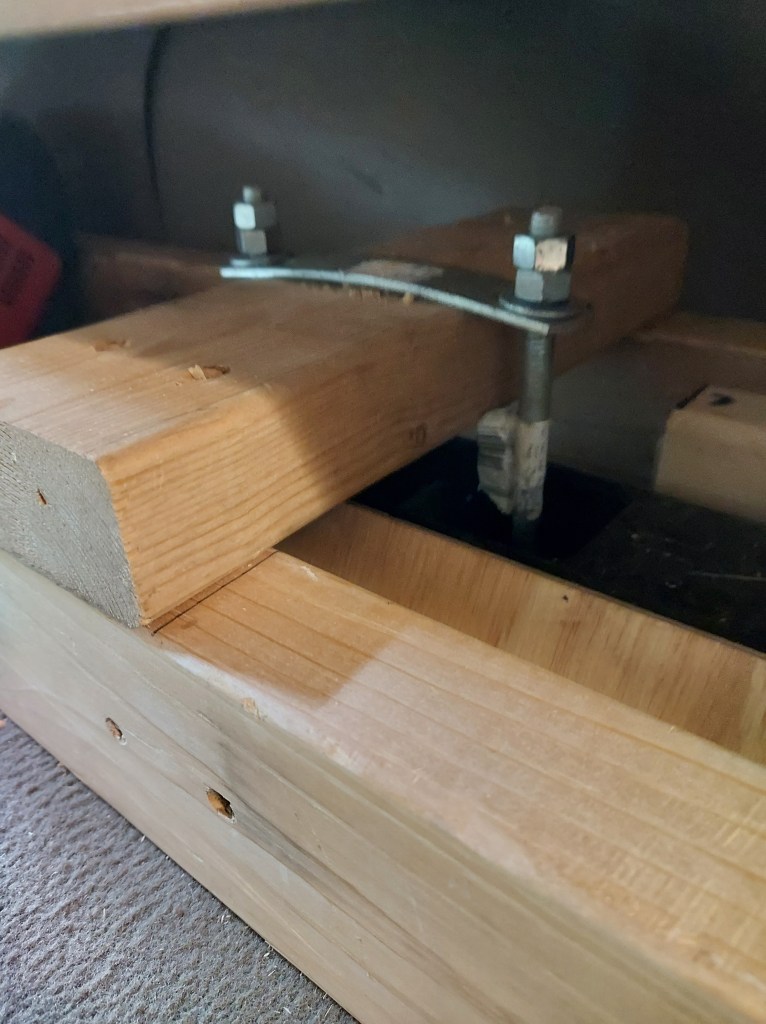
The food cabinet is designed to hang from roof making use of the threaded seat belt anchors.
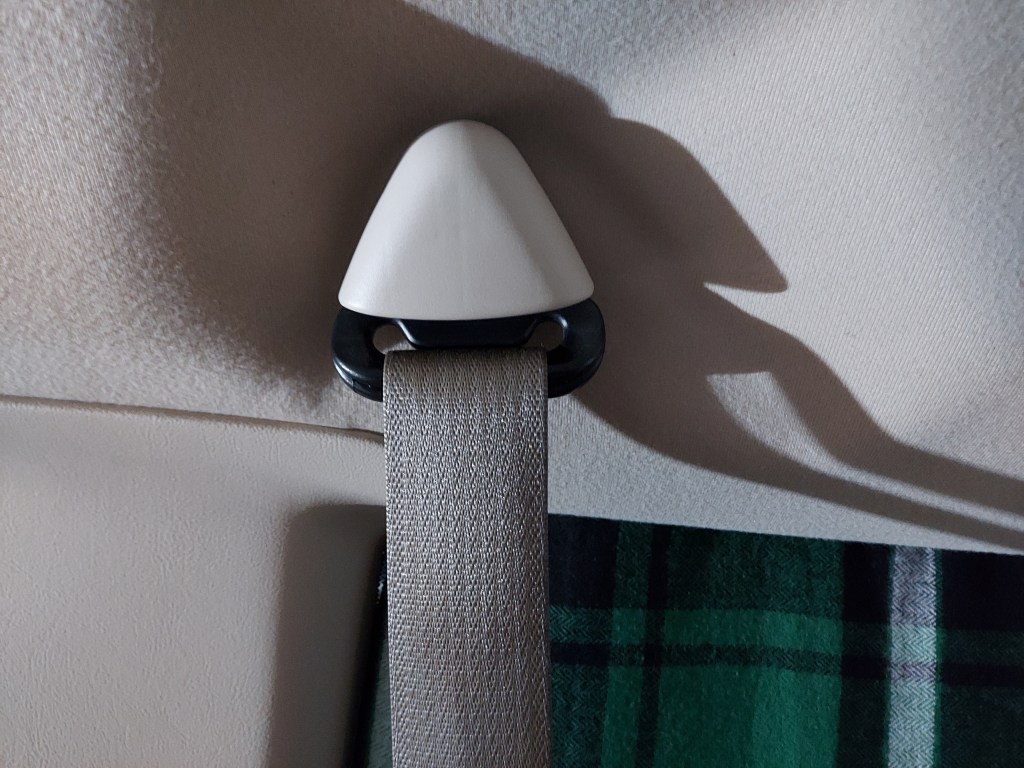
Original seat belt attached.
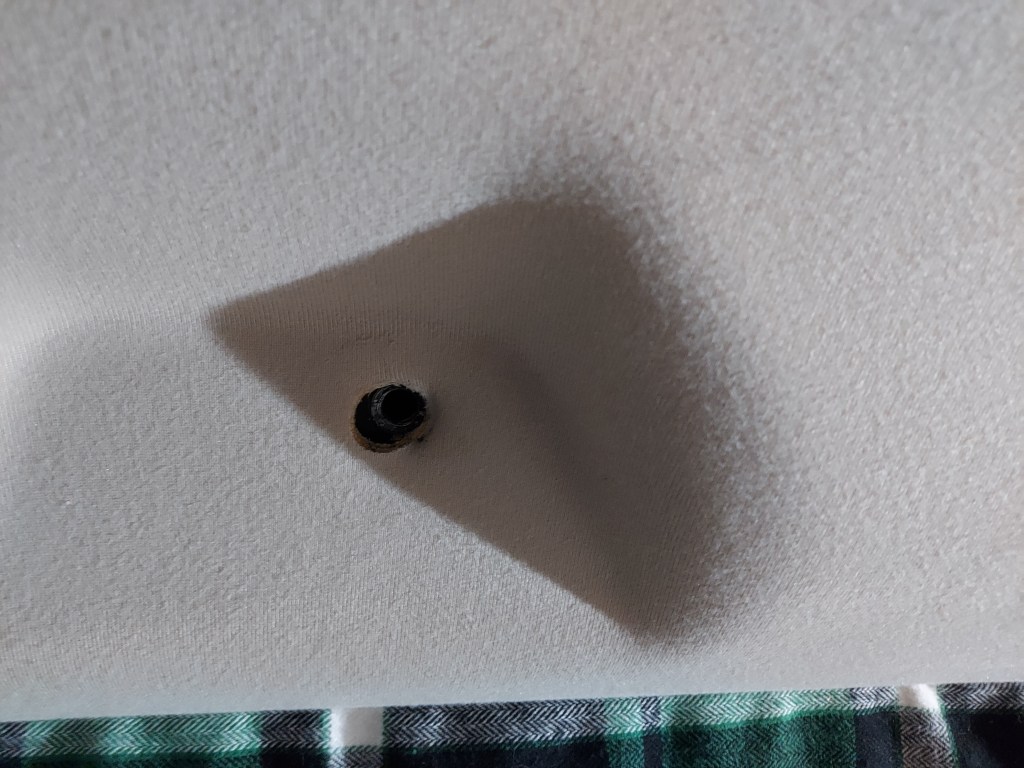
Belt hardware detached.
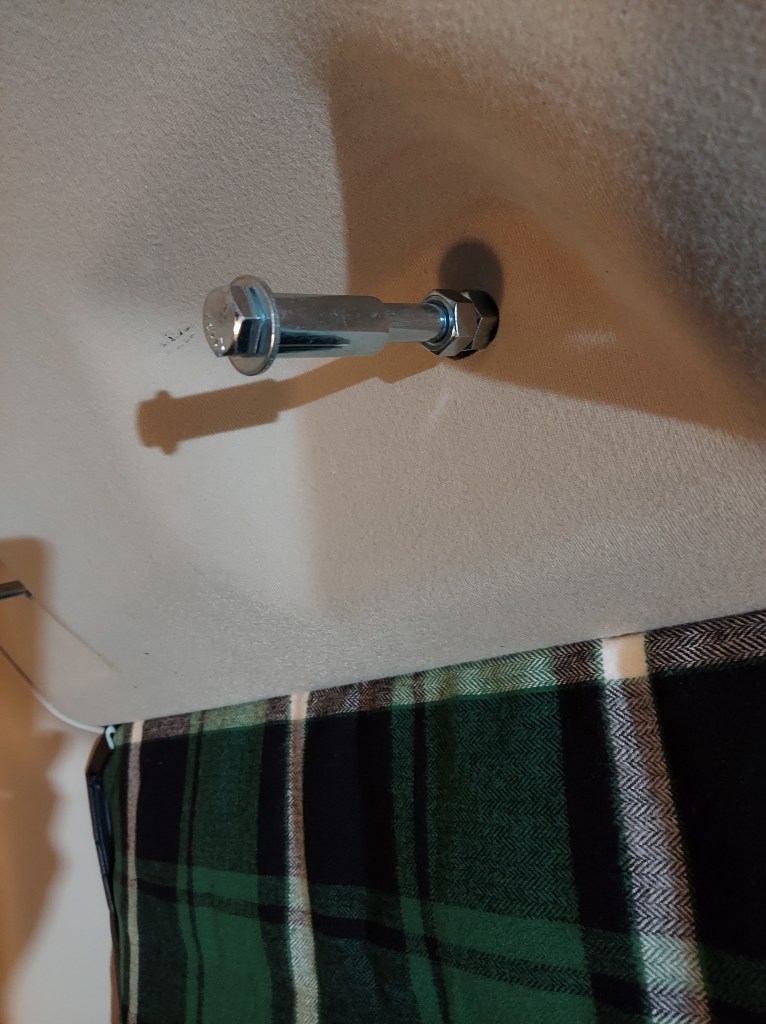
New bolt assembly.
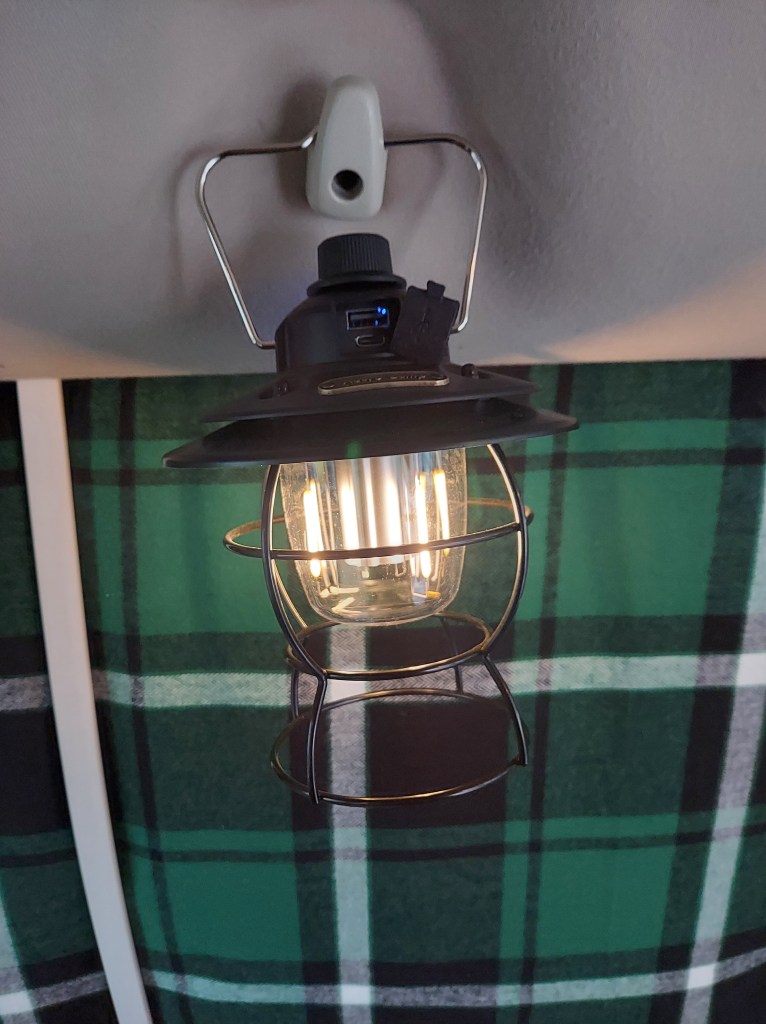
Here is the completed overhead cabinet. Lights are mounted above to bounce the LED indirectly off the ceiling for a softer light.
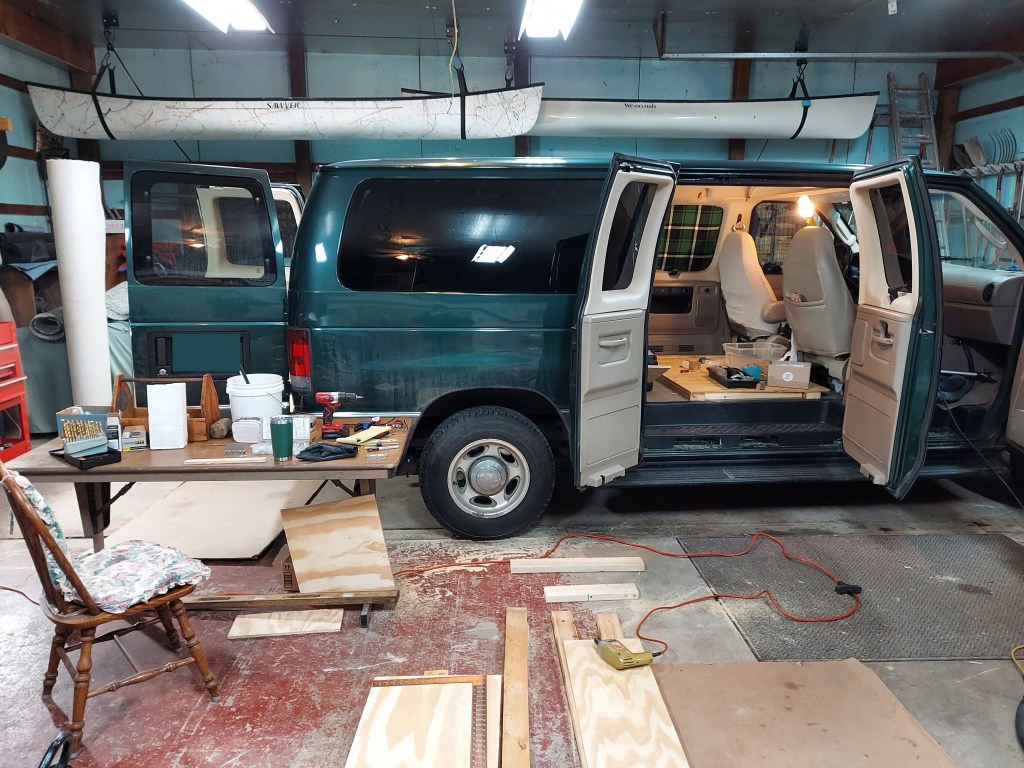
The barn was starting to look more and more like a van customizing shop at this point.
Here is the mounting system to hold bed # 1 in place. The bracket is attached to the existing bench seat mounting plate.
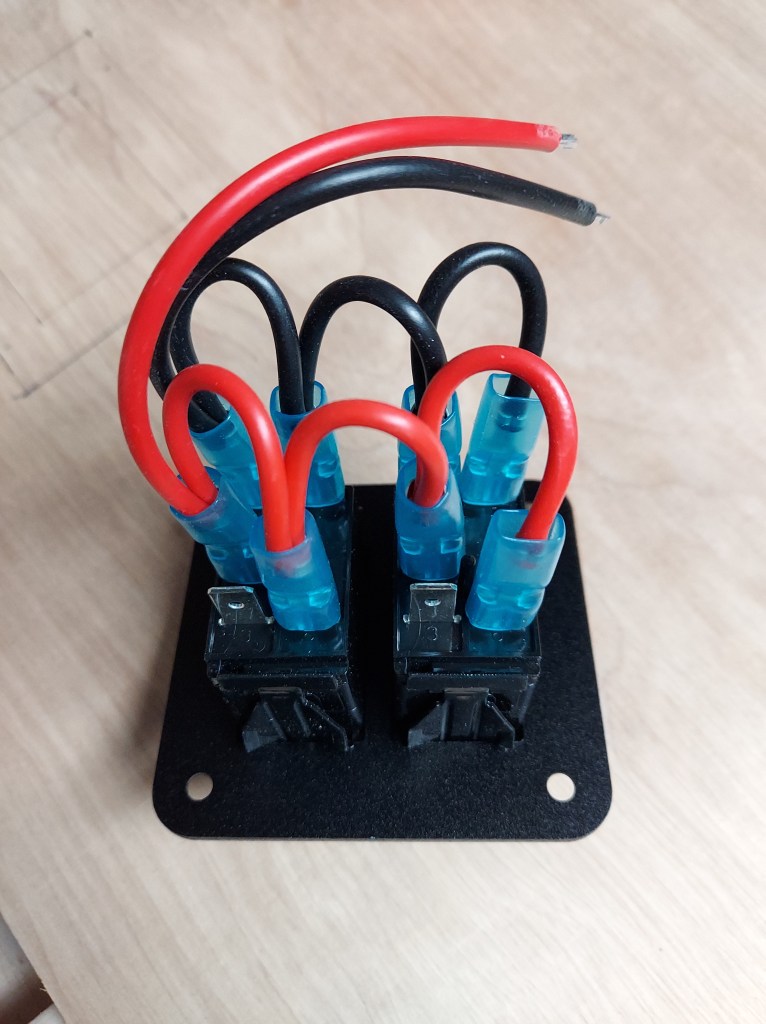
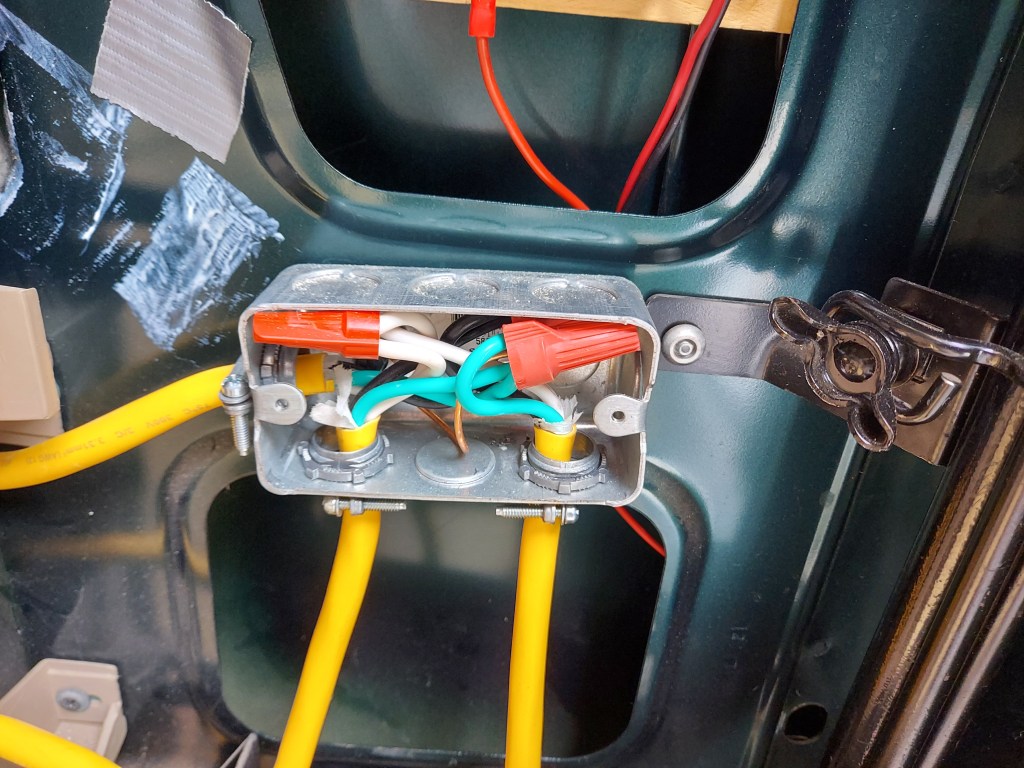
Next Step: Electrical
I designed the van build to have two primary power sources. The independent 12 volt system is used to power lights and charge cell phones and video equipment. This system is powered by a 300 watt Jackery brand lithium battery. The van also has a 110 system to power the microwave and a small ceramic heater if necessary. My good friend Jeremey help me to solidify the design and then he did the wiring for both systems. There are a number of components for each. Some images below.


Next Step: Carpet
I choose a short shag with medium tones to give a warm and cozy feel to the interior space. I also wanted the carpet a little lighter in color to give a sense of more space inside.

Final Touches
I choose to work with Mid Michigan Upholstery & Awning for my bench and bed cushions. They worked with me on my short deadline and delivered a superior product.
There are a few more details to finish on this prototype, but the basic work is complete. We used the van for a trip all the way down to Key West this March and we were very happy with this first version. You will find the travel blog on this same site very soon.
I am available as a consultant to advise you on your camper van build. Send a email with your make, model, year and one interior pic to collinsvirtual@gmail.com.
Copyright Collins Virtual 2023

3 responses to “Modular Camper Van Build”
You are a man of many talents! The van is AWESOME and your blog is informative and has humor. Good job!!
LikeLike
Dave: I am totally impressed. What a great job and very nice blog. Way to go buddy!
LikeLike
I had no idea this was going on in the neighborhood!
Very impressive. You need to grow hippy hair now.
LikeLike